
Look, good presentation isn’t my skillset, ok?
I do try, but I don’t have the same attention to detail as my mother, who performs intricate, tiny, decoration miracles on cakes. The wonders she can weave out of the thinnest piping of icing never fail to impress me, for both the skill and obvious patience she has.
The things I make generally taste good, but look a fright. The stuff I make now is actually a massive improvement – check the early posts on this blog for evidence of that!
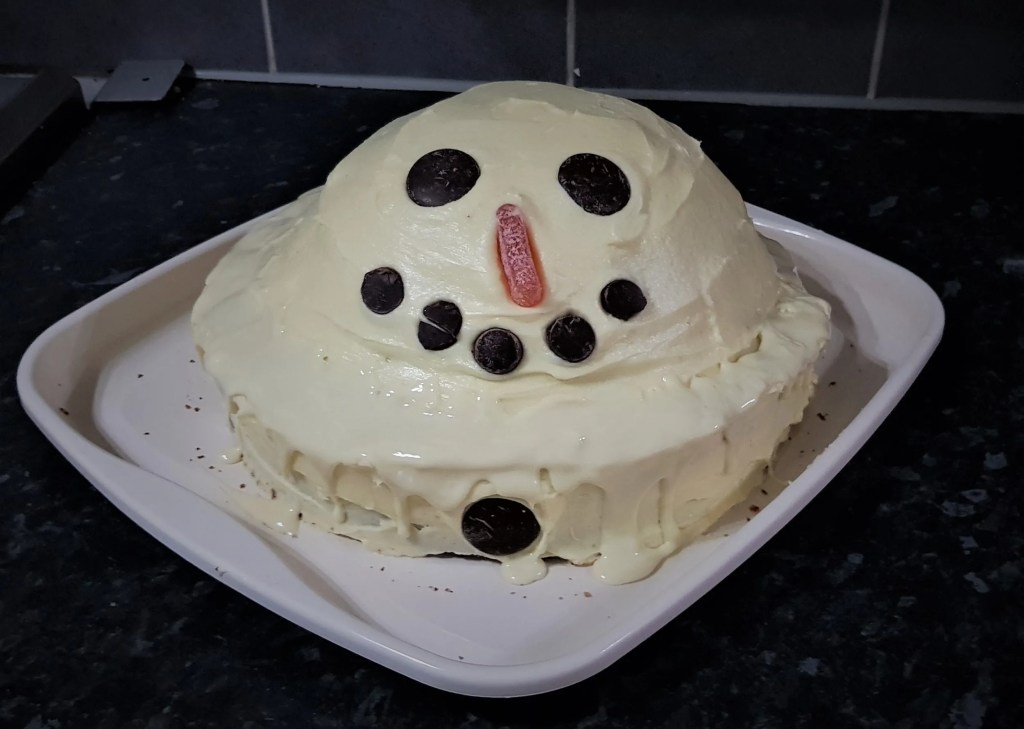
So when I saw this cake I was glad that finally there was something that was supposed to be a little more slapdash – I mean, ‘rustic’. The snowman is melting, so he’s clearly not going to be looking his best. And he definitely does not. But I had great fun making it, which is the main thing and the fact that it doesn’t need to look perfect means it could be a great Christmas project for the kids to get involved with.
The one piece of kit you need for this bake is a spherical cake tin – mine is from lakeland.
- 500 g unsalted butter (softened, plus extra for greasing)
- 500 g golden caster sugar
- 10 eggs
- 200 g plain flour
- 200 g full-fat natural yogurt
- 460 g self-raising flour
- 4 tbsp malt extract
- 1 tbsp full-fat milk
For the buttercream
- 400 g unsalted butter (softened)
- 700 g icing sugar
- 2 tbsp malt extract
- 1 tbsp full-fat milk
- For the drippy ganache
- 100 g white chocolate
- ½ tsp vegetable oil
To decorate
- 2-3 giant chocolate buttons
- chocolate buttons (small bag)
- 1 finger shaped orange jelly sweet
- Heat oven to 160C/140C fan/gas 3. Grease two 20cm round cake tins and line with baking parchment. Heavily grease a 16cm hemisphere cake tin and stand on a ramekin on a baking sheet to hold it steady.
- First, make the sponges. Using electric beaters or a tabletop mixer, beat the butter and sugar together until pale and fluffy. Pour the eggs in, one at a time, giving the mix a thorough beating before adding the next. If the mix starts to look curdled, add 2 tbsp of the plain flour. Beat in the yogurt.
- Mix both the flours together, adding ½ tsp salt, and slowly beat into the batter, followed by the malt extract (or vanilla paste) and milk. Spoon half the mixture into one of the 20cm tins, and split the remaining half between the other 20cm tin and the 16cm hemisphere. Bake the smaller amount of cake batter in the 20cm tin and the 16cm tin for 1 hr, and the larger amount for 1 hr 20 mins or until a skewer comes out clean when inserted into the middle of the cakes. Cool in the tin for 10 mins before turning out onto a wire rack to cool completely. Can be frozen at this stage for up to three months.
- Meanwhile, make the buttercream by beating all the butter and half the icing sugar together using an electric whisk or tabletop mixer. Add the rest of the icing sugar once incorporated, followed by the malt extract (or vanilla paste) and milk. Set aside until ready to use.
- To assemble, halve the largest 20cm cake horizontally so you are left with two equal-sized sponges the same size as the remaining 20cm cake. Put a blob of buttercream onto a cake board (or cake stand) and spread using a palette knife. Stick one of the sponges to the board. Spread a thick layer of buttercream on top of the cake and sandwich another sponge on top. Spread over another thick layer and sit the final sponge on top. Using a palette knife, coat the entire cake in a thin layer of buttercream and smooth the sides and top carefully, working around the whole cake, scraping off any excess icing. Chill in the freezer for 10 mins or in the fridge for 1 hr until set.
- Meanwhile, halve the hemisphere cake horizontally. Fill the middle with some buttercream, sandwich with the top and coat the entire cake in a thin layer of buttercream. Chill in the freezer for 5 mins or in the fridge for 30 mins.
- Take the larger cake out of the fridge/ freezer and coat in another layer of buttercream. Take care when covering this time, as you want a smooth finish to the cake. Running the palette knife under hot water helps smooth over the sides once it is coated completely. Chill again for 5 mins in the freezer.
- Cover the hemisphere sponge with buttercream and smooth over with the palette knife. Carefully lift the hemisphere onto the centre of the cake (as the sponge has been frozen you shouldn’t leave finger marks). Press down lightly to set on the buttercream. If there is a gap around the rim, use a small palette knife to fill in with any remaining buttercream. Chill for 10-15 mins.
- Make the drippy ganache by mixing the chocolate and oil and microwaving for 30 secs, stirring and then giving it another 30 secs until melted. Transfer to a squeezy bottle (if you have one, or otherwise just use a spoon), then pour down the edges of the round cake to create the melting snow effect.
- To finish the cake, stick the giant chocolate button eyes to the head using a little remaining buttercream. Stick the chocolate buttons down the front of the cake for buttons and for the mouth. IBring the cake to room temperature before serving.
Discover more from Full As An Egg
Subscribe to get the latest posts sent to your email.
